

So, to get started, we are using all the same kit we used in the first tutorial. I have also decided to show the collection of oil paints I am using in this tutorial, as well as the test hull.

So here I am showing the No.2 medium. I am using the No.2 as it will stay liquid for longer. Normally, oil mediums will take a day to dry, however, the medium has a tendency to become 'gummy' after about 5-10 minutes. Keep this in mind when you mix oils, that you may have to re-thin them using either more medium, or artists turpentine.

Here are the colours I have mixed. The green/brown is an oily type colour, ideal for use on the grey hull as it will contrast nicely with the light grey tone. The yellow/white is for use on the black hull as a dust effect. I then mixed it again with more white (not shown) for the rivets.

I then placed the washes all around the rivets and hull plate edges, making sure to not place too much or letting it pool.

So this is what you have with the oils applied. The rivets are clearly defined, and a thin line can be seen around the hull plates.

At this point, we wait for the oil to gum up. I thin get a very CLEAN brush. This brush is then moistened in artists turpentine. The brush is used to gently stroke away from the rivet. The turpentine breaks the gum effect, and allows the oil to streak. This is one of two ways this can be done. The other way (not shown) is to place a drop of undiluted oil at a point, then to spread it using the same method. I do not favour this method as it is less predictable and can be too stark a contrast. I have mentioned it as something to keep in mind if you want to try it.

So here is our black hull. You can see the glossy sheen around the panels from the medium, but this won't be visible after the oil wash has been sealed with varnish, as it is merely a clear run-off.
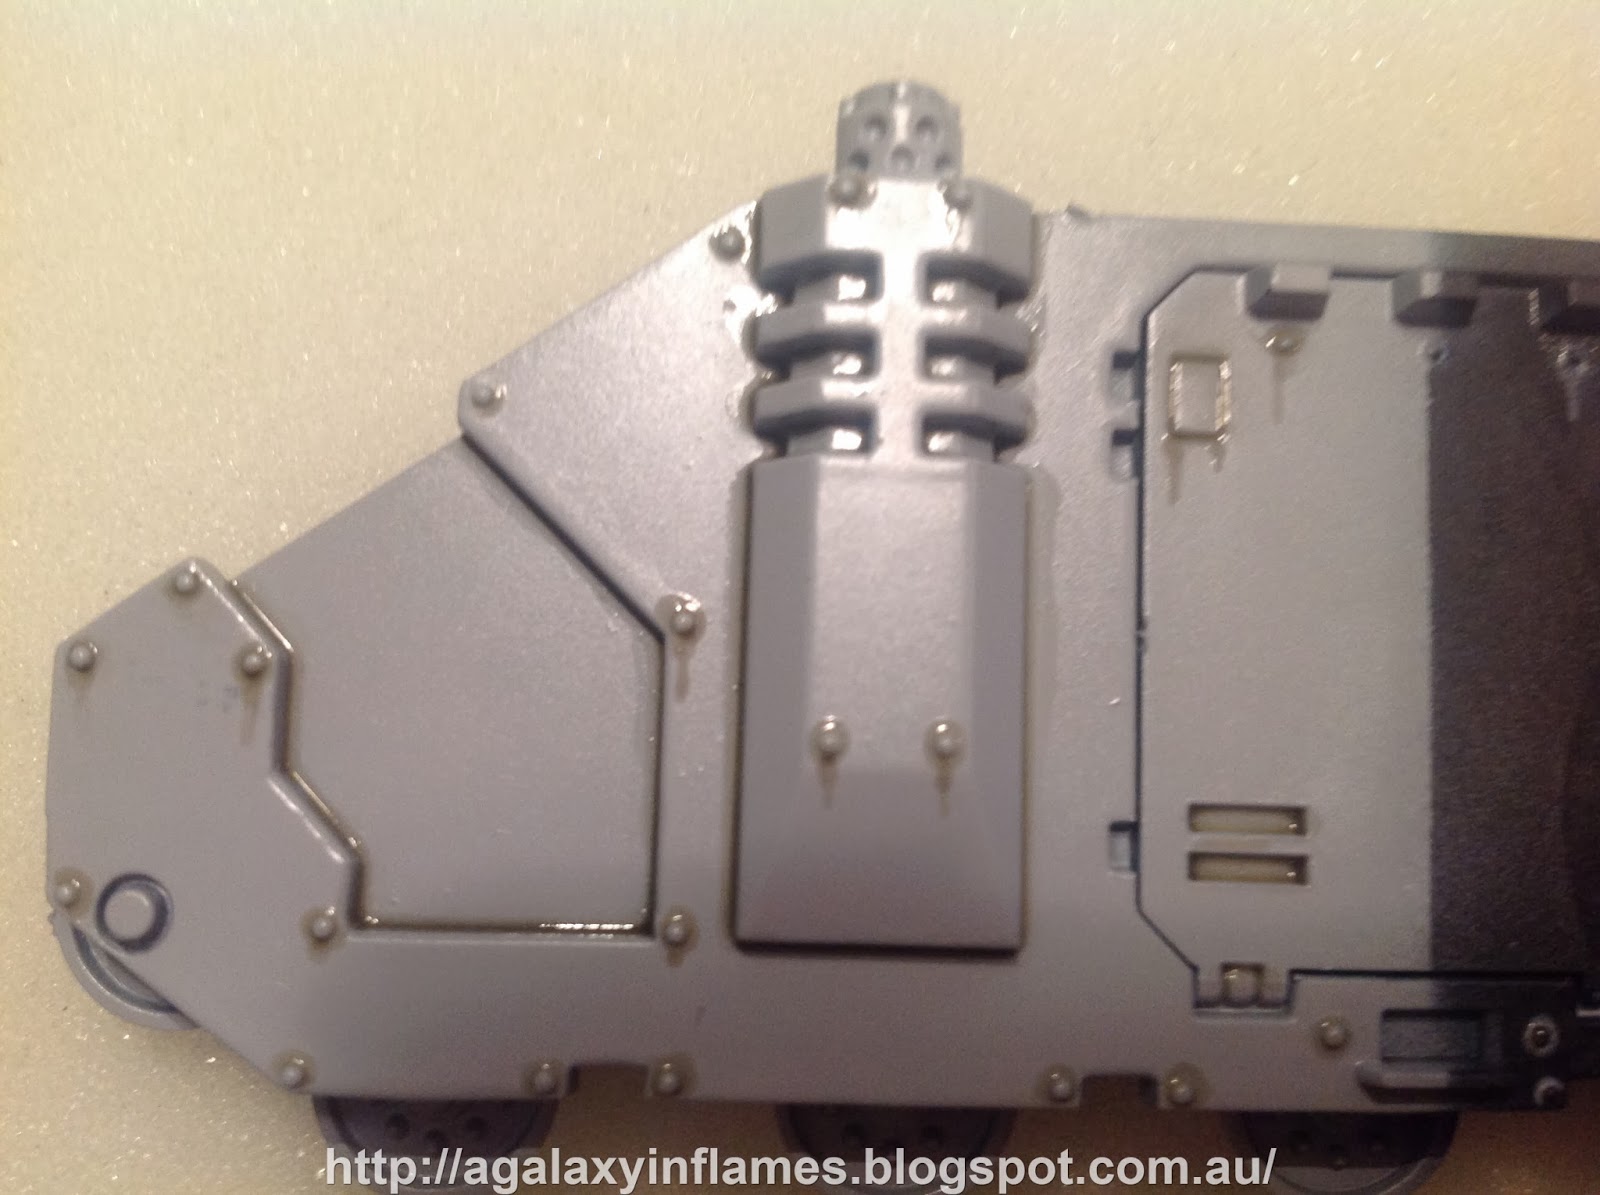
Here is the grey hull, with oil stains leaking from the rivets.

This is the hull from a distance. I will be utilising this same hull in a future tutorial detailing weathering on light and dark hulls. Below are alternate views of the oils.


Well, that's all for now, I hope you have picked up something. As always, feel free to comment/discuss below.
No comments:
Post a Comment